Have you ever scrolled through a car gallery online and been blown away by how awesome the cars look? We all have, right? But here’s a little secret: those amazing images don’t just happen by accident. Behind every great car photo, a lot of work goes into making it look so good. And a big part of that magic?
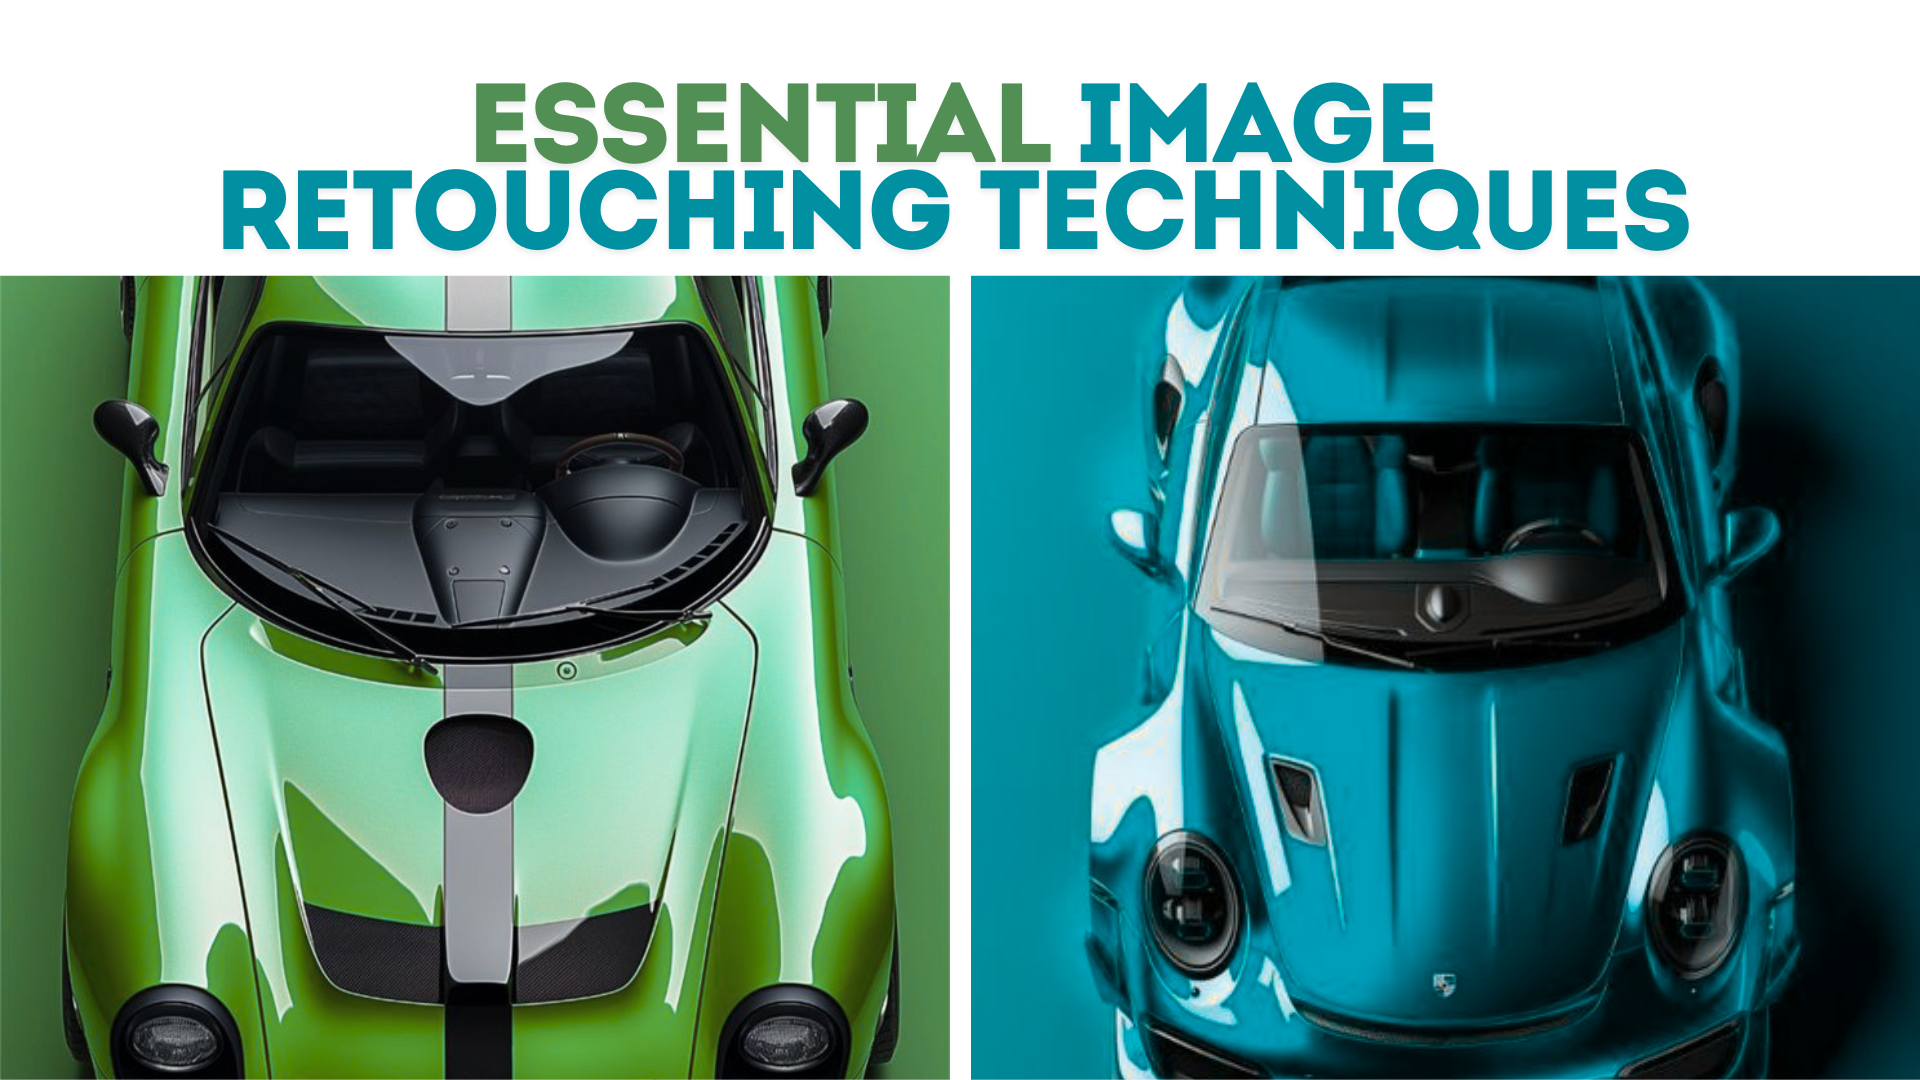
In this post, we will dive into the essential image retouching techniques that’ll take your car photography from good to great. Whether you’re a pro or just starting, these tips will help you get the most out of every shot. Ready to turbocharge your retouching skills? Let’s go!
1. Why Retouching Matters in Car Photography
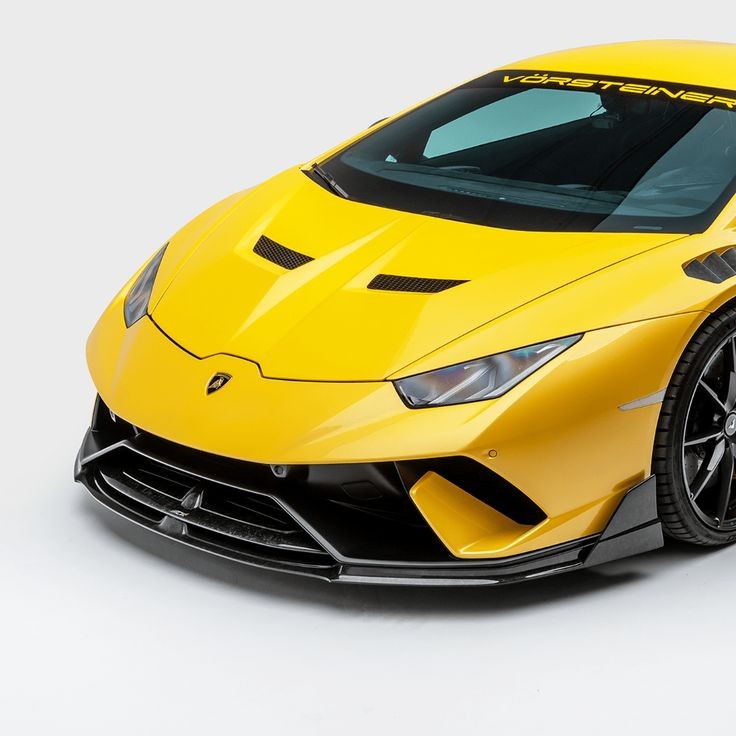
So why retouch at all? A well-shot image should stand on its own. While getting a great shot is half the battle, car image retouching is where you can tweak those details that make your images shine. Imagine you’re shooting a classic car at sunset.
The lighting, the angles—everything is perfect. But when you look closer you notice a few smudges on the hood or some distracting background elements. That’s where retouching comes in.
Retouching allows you to:
- Remove scratches or dust.
- Enhance the car’s color.
- Adjust lighting and shadows to highlight the car’s best bits.
Think of retouching as the final polish that turns a good image into something amazing. It’s like giving the car an extra wax before you show it off to the world.
2. Basic Retouching Techniques: Start Here
Before we get into advanced techniques let’s cover the basics. These are the first things you’ll want to do to any car image.
- Dust and Scratches: No matter how careful you are during the shoot, there’s always going to be some dust or the odd scratch that gets into your shots. Use the clone stamp or healing brush in Photoshop to remove these blemishes.
- Cropping and Straightening: Sometimes a small adjustment to the composition can make a big difference. Cropping allows you to get rid of unwanted parts of the image and focus on what matters—the car.
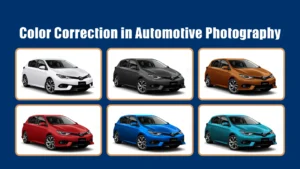
- Color Correction: Ever taken a shot that looked a bit flat or had a weird color cast? Color correction ensures the car looks as real as possible. Adjust the white balance, saturation, and contrast to make the image pop.
These simple steps lay the foundation for more advanced retouching techniques. And trust us, even small adjustments can have a big impact!
3. Advanced Retouching Techniques: Level Up
Now that we’ve got the basics covered, let’s get into the advanced stuff. This is where the fun begins!
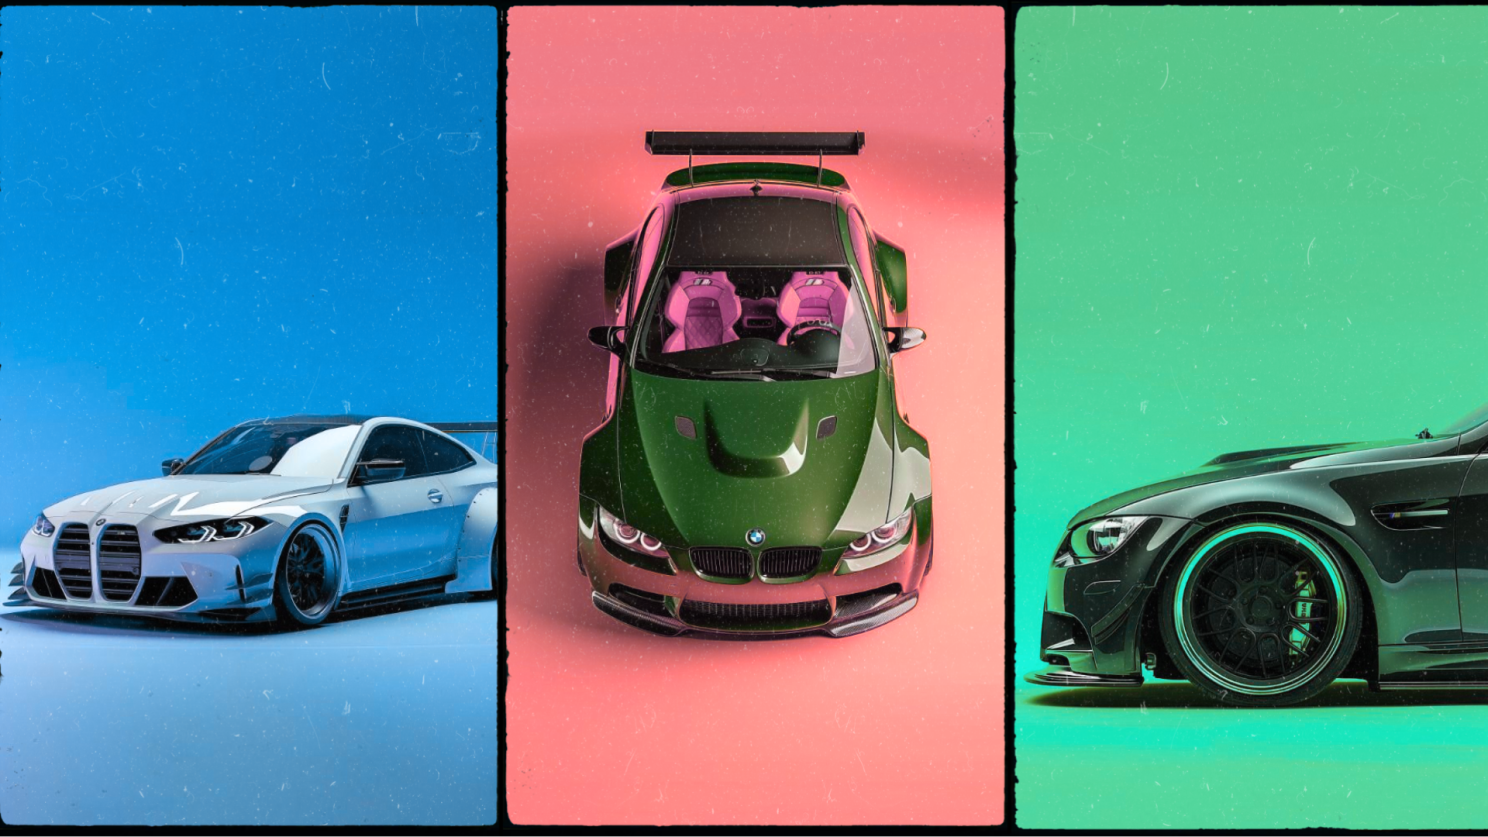
- Reflections and Highlights: Cars are like mirrors on wheels. They reflect everything around them, which can be a blessing or a curse. Sometimes you want those reflections to add to the shot, and other times you need to tone them down. By adjusting highlights and reflections you can control the mood of the image and make the car look its best.
- Enhancing Details: Want to make those chrome rims pop or bring out the texture of the leather seats? Focus on the details that make each car unique. Use sharpening tools to bring out fine details and add a bit of texture to surfaces that would otherwise be flat.
- Adding Depth with Shadows: Shadows are your best friend when it comes to creating depth in a photo. By subtly adjusting shadows you can make the car look 3D, like it’s about to drive off the screen.
- Background Cleanup: Sometimes the background can be distracting. Whether it’s a pedestrian or an ugly building you can either remove it entirely or blur it slightly to keep the focus on the car.
These take a bit more practice but once you get the hang of it you’ll see a big difference.
4. Creative Retouching: Make Your Photos Pop
Here’s where you can get creative. Creative retouching is all about making your photos unique and memorable.
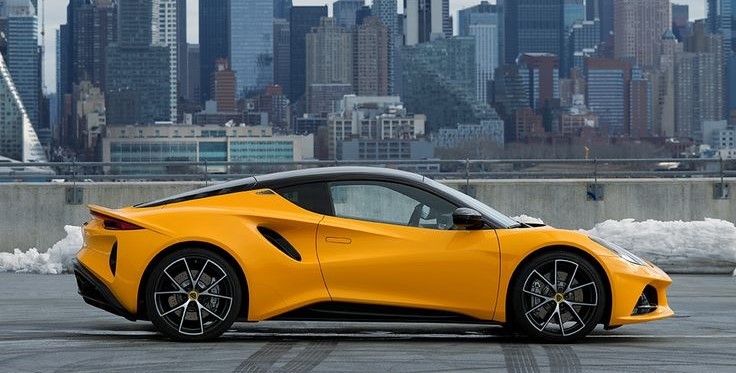
- Color Grading: Ever seen a photo with a certain “mood” to it? That’s often the result of color grading. By adjusting the overall color of your image you can create a specific atmosphere—whether it’s a cool, modern look for a sports car or a warm, nostalgic feel for a vintage ride.
- Light Painting Effects: Want to add some drama to your night shots? Try light painting. By using long exposure techniques combined with retouching you can create amazing light trails that highlight the car’s shape and features.
- Composite Images: Sometimes one photo isn’t enough to capture everything you want to show. By combining multiple images into a composite you can create dynamic scenes that tell a bigger story. Just make sure to blend everything so it looks natural.
Make it yours.
5. Tools of the Trade: Software and Plugins
So, what do I need to get started? Don’t worry, I’ve got you covered.
- Adobe Photoshop: The software of choice for most photographers, Photoshop has everything you need for basic and advanced retouching.
- Lightroom: Great for batch processing and quick edits, Lightroom is perfect for adjusting exposure, contrast, and color balance on multiple images at once.
- Topaz Labs Plugins: If you want to enhance specific parts of your photos, plugins like Topaz Labs have tools for sharpening, noise reduction, and more.
- Nik Collection: A suite of plugins with creative filters and effects to add some magic to your images.
Having the right tools makes the retouching process easier. Invest in good software and you’ll see the difference in your work.
6. Final Thoughts: Practice Makes Perfect
Like any skill, image retouching takes time and practice. Don’t be discouraged if your first attempts don’t turn out exactly as you imagined. Keep trying, learning, and pushing yourself.
And remember, the goal of retouching isn’t to make a car look unrealistic but to enhance its natural beauty. Subtlety is key. The best retouching is often the kind that the viewer doesn’t even notice—it just feels right.
Go! 😉 Shoot! 😉 (and retouch!)