Replacing the background in car photography can dramatically enhance the visual appeal of your images. Here’s a detailed, step-by-step guide on how to do it using Adobe Photoshop.
Step 1: Open Your Image in Photoshop
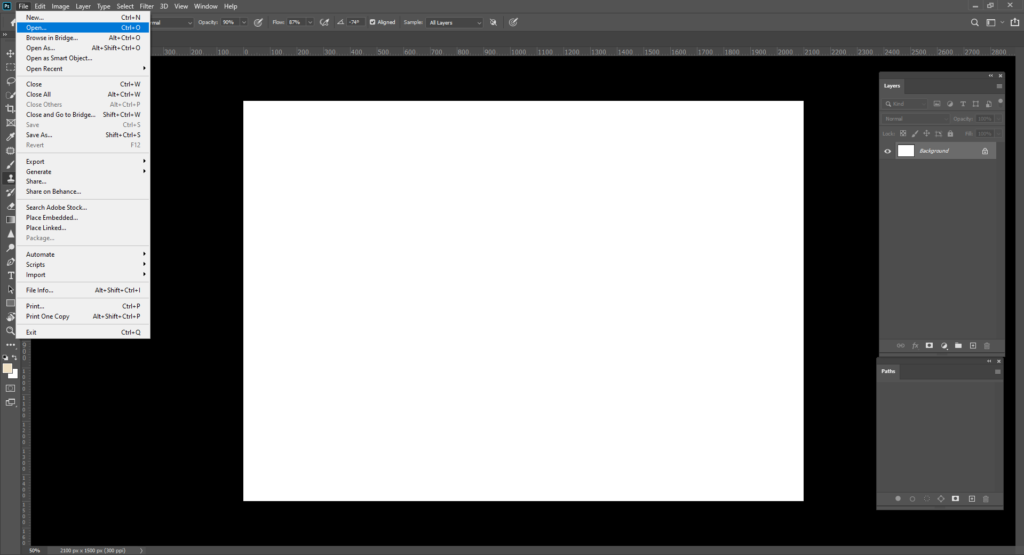
- Launch Photoshop: Start Adobe Photoshop on your computer.
- Load the Photo: Go to File > Open and select the car photo you want to edit.
Step 2: Select the Car
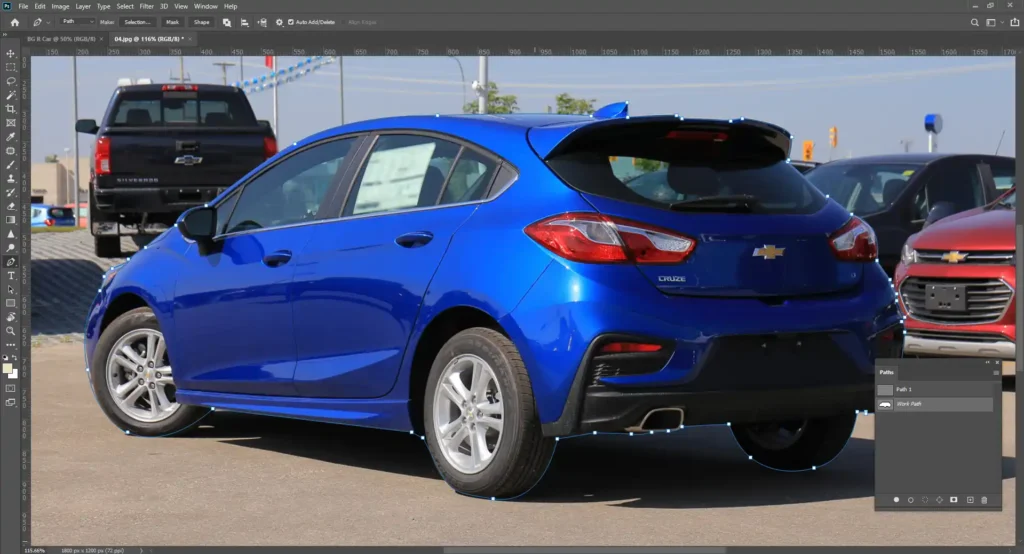
- Using the Pen Tool for Precise Selection:
- Activate the Pen Tool: Select the Pen Tool from the toolbar or press the shortcut key P.
- Create a Path: Click around the edges of the car to create anchor points. Adjust the curve of the path by dragging the handles that appear when you click and drag.
- Close the Path: Connect the last anchor point back to the first one.
- Make Selection: Right-click inside the path, choose “Make Selection,” and set the Feather Radius to 0 pixels for a sharp edge.
- Using the Quick Selection Tool for Quick Selection:
- Activate the Quick Selection Tool: Select the Quick Selection Tool from the toolbar or press W.
- Select the Car: Click and drag the tool over the car to select it. Adjust the brush size using the bracket keys [ ].
- Refine Selection: Hold down the Alt key (Option key on Mac) and drag over areas you want to deselect.
- Refine the Edges:
- Select and Mask: Go to Select > Select and Mask.
- Use the Refine Edge Brush Tool: Paint over areas where the selection needs to be improved, such as around the tires and mirrors.
- Adjust Settings: Use settings like Radius, Smooth, Feather, Contrast, and Shift Edge to refine the selection.
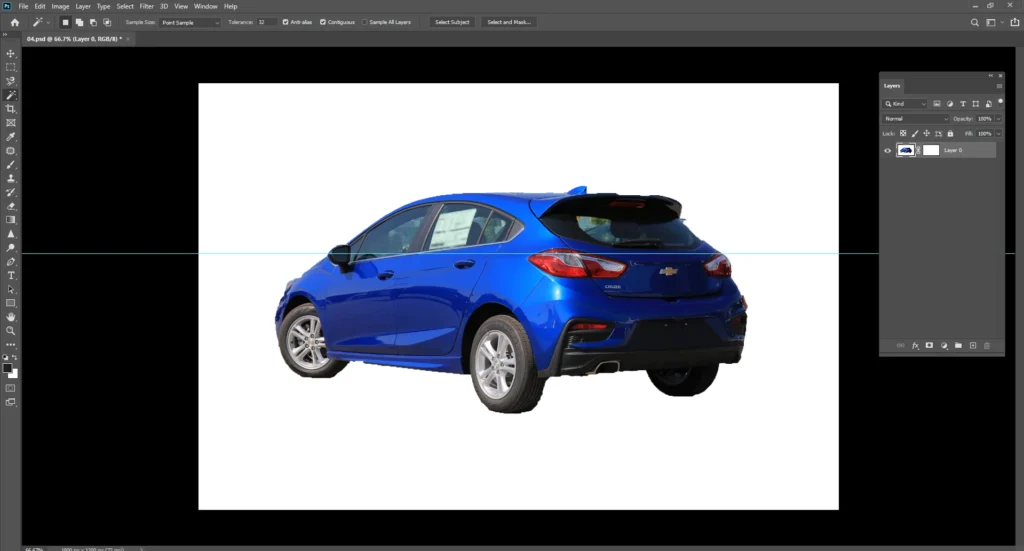
Step 3: Remove the Background

- Inverse the Selection:
- Inverse: Go to Select > Inverse to select the background instead of the car.
- Delete the Background:
- Remove Background: Press the Delete key (Backspace key on Mac) to remove the background. You should now have the car on a transparent background.
Step 4: Insert the New Background
- Open the New Background:
- Load New Background: Go to File > Open and select the new background image.
- Add to Document: Drag the background image into the car photo document. Ensure the new background layer is below the car layer.
- Resize and Position the Background:
- Activate Free Transform: Select the background layer and press Ctrl + T (Command + T on Mac).
- Resize and Position: Adjust the size and position of the background to fit the scene by dragging the corners and edges.
Step 5: Blend the Car and Background
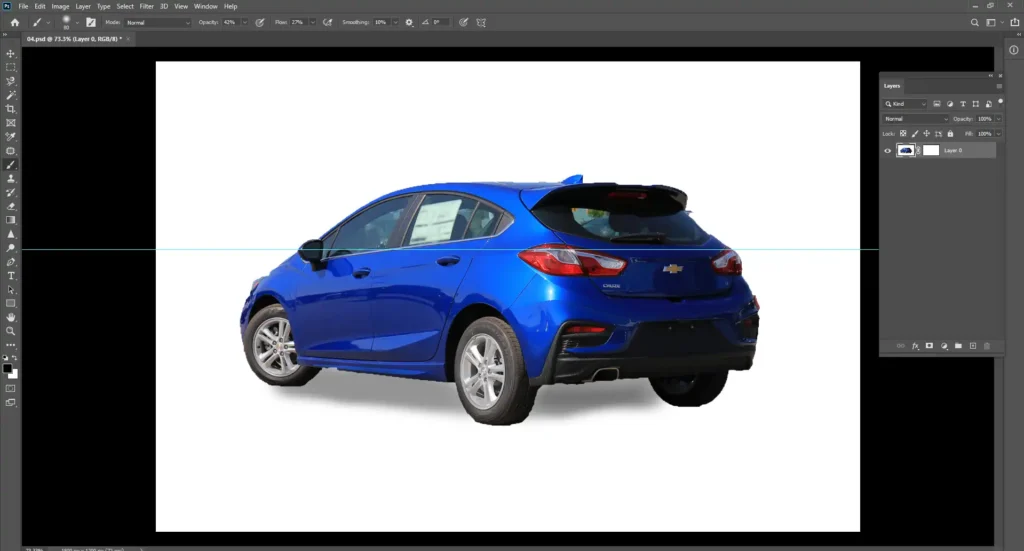
- Adjust Lighting and Colors:
- Match Color: Select the car layer. Go to Image > Adjustments > Match Color. Choose the background layer as the source. Adjust the Luminance and Color Intensity to match the lighting.
- Hue/Saturation: Use Image > Adjustments > Hue/Saturation to tweak the car’s colors, ensuring it blends naturally with the background.
- Create Shadows:
- New Layer for Shadows: Create a new layer below the car.
- Paint Shadows: Select a soft round brush with low opacity (20-30%). Paint shadows under the car to ground it. Adjust opacity and blur for realistic shadows.
- Final Touches:
- Clone Stamp Tool: Use the Clone Stamp Tool (S) to fix imperfections or mismatches.
- Healing Brush Tool: Use the Healing Brush Tool (J) for subtle touch-ups.
- Filters and Effects: Apply desired filters or effects to enhance the overall image.
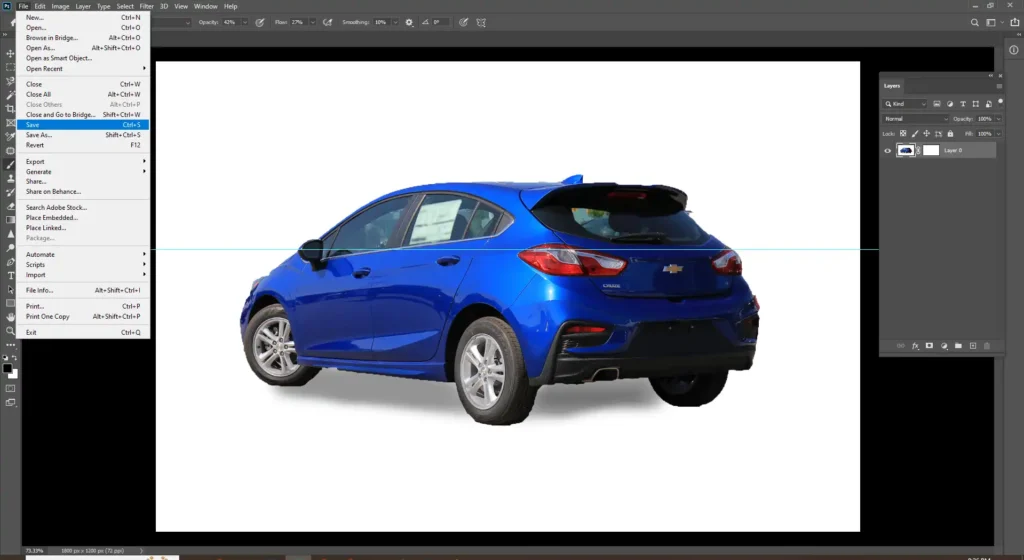
Step 6: Save Your Edited Image
- Save for Web:
- Export: Go to File > Export > Save for Web (Legacy).
- Choose Format: Select the appropriate format (JPEG for high quality, PNG for transparency).
- Adjust Settings: Set quality settings and save the image.
- Save the Project:
- Save PSD: Save the Photoshop project file (.PSD) for future edits by going to File > Save As and choosing the PSD format.
Call to Action
Replacing backgrounds in car photos can be a rewarding process but requires time and precision. For those who prefer a professional touch, consider our Car Photography Retouching Service. offers expert results with a quick turnaround. Let our experienced team enhance your car photos and give them the perfect look.
By following these detailed steps, you can effectively replace the background in car photography. Whether you prefer to do it yourself or seek professional car background replacement services, achieving stunning results is within reach.
You can also learn more about others’ tools on the top 5 background replacement tools.